- www.TiffanysGarden.com my crafty personal blog where you'll find my watercolor painting, bible journaling, Distress Ink stuff and organizing my craft stash!
- www.TiffanyDoodles.com where you can find all of my drawings that you can color yourself!
- @Tiffer73 Instagram - ALL of my art and craftiness!!
- Distress Ink for Watercolor Facebook Group If you like to use your Distress Ink in a more traditional style of watercolor, then come join our group!
- My Watercolor Painting Facebook Page
- My Sewing and Crocheting Facebook Page
Showing posts with label watercolor. Show all posts
Wednesday, December 16, 2015
DIY Travel Watercolor Palette made from Pencil Tin!
I made a travel watercolor palette to hold 85 of my favorite colors!!
My Personal Links:
Tiffany Doodles Links:
Thursday, May 21, 2015
Watercoloring with Matte Fluid Medium & Watercolor Pencils
I've been playing around with this Liquitex Matte Fluid Medium and it is so useful in so many ways! Yesterday I discovered you can use it to watercolor instead of using water!! WHAT??? Yes, and when you use it on your bible pages you won't get wrinkles or pages curls! Here is how I did it! (I would have taken more pics if I'd have known this was gonna work so great! But I'll do it again!)
Normally, if you want to do any "watercoloring" on your thin bible pages you need to lay down a full coat of something like gesso, matte gel medium or the fluid medium and then put your color on top of that! Well, I may have found a way to lay down your color first and then use your medium last!
First of all I drew my image with my waterproof pen! Then I colored my image with my Derwent Inktense watercolor pencils. Any watercolor pencils will do! The inktense are just so vibrant! A note on coloring with the pencils, color lightly where you want the color lighter and color heavy where you want it darker.
Next step is the fun part! I got a bottle cap and added 3 drops of Liquitex Fluid Matte Medium, then I added 2 squirts of water from my mini mister. This stuff goes a looooong way and even 3 drops was more than enough for these small items to paint. I got a small paintbrush and mixed the water in really good. Then started painting. When painting start in the the lighter areas and work your way into the darker areas. If you start in the darker areas and go towards the lighter areas you will pull the dark in and cover up your lighter areas. So be sure to start in the lighter areas first!! After dry, the last step was using my white gel pen to make some dots in the middle of the flowers! All done!! Be sure it is completely dry before you close your bible!
I plan to do more experimenting with this technique with fuller coverage of color first then fluid medium last! When I do I'll take more pics, or even do a video, if you don't mind my terrible southern accent. (I'm trying to get over that fear!)
Oh, and if you enjoy using Distress Ink in a more traditional style of watercoloring, then you've got to come over to my Facebook Group Distress Ink for Watercolor! We'd love to have you join us!
My Personal Links:
Normally, if you want to do any "watercoloring" on your thin bible pages you need to lay down a full coat of something like gesso, matte gel medium or the fluid medium and then put your color on top of that! Well, I may have found a way to lay down your color first and then use your medium last!
First of all I drew my image with my waterproof pen! Then I colored my image with my Derwent Inktense watercolor pencils. Any watercolor pencils will do! The inktense are just so vibrant! A note on coloring with the pencils, color lightly where you want the color lighter and color heavy where you want it darker.
Next step is the fun part! I got a bottle cap and added 3 drops of Liquitex Fluid Matte Medium, then I added 2 squirts of water from my mini mister. This stuff goes a looooong way and even 3 drops was more than enough for these small items to paint. I got a small paintbrush and mixed the water in really good. Then started painting. When painting start in the the lighter areas and work your way into the darker areas. If you start in the darker areas and go towards the lighter areas you will pull the dark in and cover up your lighter areas. So be sure to start in the lighter areas first!! After dry, the last step was using my white gel pen to make some dots in the middle of the flowers! All done!! Be sure it is completely dry before you close your bible!
I plan to do more experimenting with this technique with fuller coverage of color first then fluid medium last! When I do I'll take more pics, or even do a video, if you don't mind my terrible southern accent. (I'm trying to get over that fear!)
If you are interested in the Documented Faith facebook group, everyone is welcome to join us!
Oh, and if you enjoy using Distress Ink in a more traditional style of watercoloring, then you've got to come over to my Facebook Group Distress Ink for Watercolor! We'd love to have you join us!
My Personal Links:
Tiffany Doodles Links:
Posted by
Tiffany
at
10:23 AM
7
comments
Labels:
art,
art journaling,
art supply,
bible journaling,
colored pencils,
derwent inktense,
documented faith,
tutorial,
watercolor
Wednesday, April 29, 2015
How to paint fast & loose watercolor flowers with Distress Inks
How to paint fast & loose watercolor flowers, for people who don't paint!! Seriously, anyone can do this! With basic shapes and simple swishes of your brush you can create these fun and whimsical flowers in no time! They are not perfect and the best part is.... they don't have to be! I made another video for you! Please bare with me as I'm still learning this video tutorial stuff!
Hope you enjoy!
Oh, and if you enjoy using Distress Ink in a more traditional style of watercoloring, then you've got to come over to our Facebook Group Distress Ink for Watercolor! We'd love to have you join us!
Here is a sneak peek of my video camera setup! I'm using the top of my Distress Ink pad spinner along with my gorilla tripod to wrap the legs around it to hold it on! I really need to come up with a better plan. Is there anyone out there with some tips for me?
Hope you enjoy!
Oh, and if you enjoy using Distress Ink in a more traditional style of watercoloring, then you've got to come over to our Facebook Group Distress Ink for Watercolor! We'd love to have you join us!
My Personal Links:
Tiffany Doodles Links:
Posted by
Tiffany
at
11:44 AM
4
comments
Labels:
art,
art journaling,
distress markers,
tutorial,
video,
watercolor
Tuesday, April 21, 2015
Distress Ink Watercolor Fawn Video Tutorial
My first ever video tutorial!! I wasn't brave enough to talk through
it (yet) so I played some happy music and displayed tips on screen. I
painted a cute little fawn with a pretty pink background! I wanted to keep it simple to see how it would go!! I admit, it was kinda fun!!
I'd like to ask your opinion on video editing software (for Windows 7). I used the free Windows Movie Maker software to make this video, but I feel like it was limited in it's features. What's your favorite video software? I'd like to do some investigating and find something new!
Hope you like it!
If you are seeing this post on Facebook or some other place, I invite you to check out my personal blog - if you enjoy crafty, artsy, craft room organizing, and things like that! www.TiffanysGarden.com
Oh, and if you enjoy using Distress Ink in a more traditional style of watercoloring, then you've got to come over to my Facebook Group Distress Ink for Watercolor! We'd love to have you join us!
My Personal Links:
I'd like to ask your opinion on video editing software (for Windows 7). I used the free Windows Movie Maker software to make this video, but I feel like it was limited in it's features. What's your favorite video software? I'd like to do some investigating and find something new!
Hope you like it!
If you are seeing this post on Facebook or some other place, I invite you to check out my personal blog - if you enjoy crafty, artsy, craft room organizing, and things like that! www.TiffanysGarden.com
If you are interested in the Documented Faith facebook group, everyone is welcome to join us!
Oh, and if you enjoy using Distress Ink in a more traditional style of watercoloring, then you've got to come over to my Facebook Group Distress Ink for Watercolor! We'd love to have you join us!
My Personal Links:
Tiffany Doodles Links:
Wednesday, April 08, 2015
Under His Wings - Psalms 91:4 - Bible Journaling Tutorial and Free Download
Psalms 91:4 He will cover you with his feathers, and under his wings you will find refuge; his faithfulness will be your shield and rampart.What a comfort this verse is. I wanted to make some large majestic golden wings over these pages.
I knew I was going to be using some watercolor pencils so I started with some Medium Matte Gel. I love this stuff cause it dries clear! Of course you can also use Gesso! (Gesso is available in White, Black and Clear). I put a piece of paper below each of my pages to protect the pages below.
You have a few choices for what kind of texture you want.
You can use a credit card or membership card to spread the Gel over your pages. This will give you a more bumpy texture with ridges here and there.
You can also use a make up sponge for a smoother texture. Or, you can use one of the craft sponge paintbrushes. It won't be perfectly smooth, but pretty close. If I were using the Gel or Gesso on a more durable surface and wanted it super smooth I would sand it with super fine grit sandpaper or sanding block. But that is not recommended for your bible pages at this point (until I try it and see how my pages hold up)!! =)
After your Gel or Gesso has dried, put your printed image below the page and you can still see clearly enough to trace your image.
Next, use your favorite waterproof pen and trace your images!
I started coloring in my feathers with Distress Ink Wild Honey. I left the tips empty to fill them in with Mustard Seed.
Coloring on top of Gel is a bit different if you haven't done this before. Your color kind of "floats" on the surface. It doesn't exactly blend like you might be used to.
I used Distress Ink Rusty Hinge to fill in some of the shadows. Then used a paper tortillon to kind of smear it in together. A paper tortillon is just paper that is rolled up really tightly into a point, great for smooshing and blending! =) You can find them in the art section at Hobby Lobby, I've seen them in Walmart's art section too.
Here are my finished feathers!
Then finally, I wanted to give them a hazy pink aura, so I colored around it with my pink watercolor pencil and blended it in with my damp brush. I really like how these wings turned out!
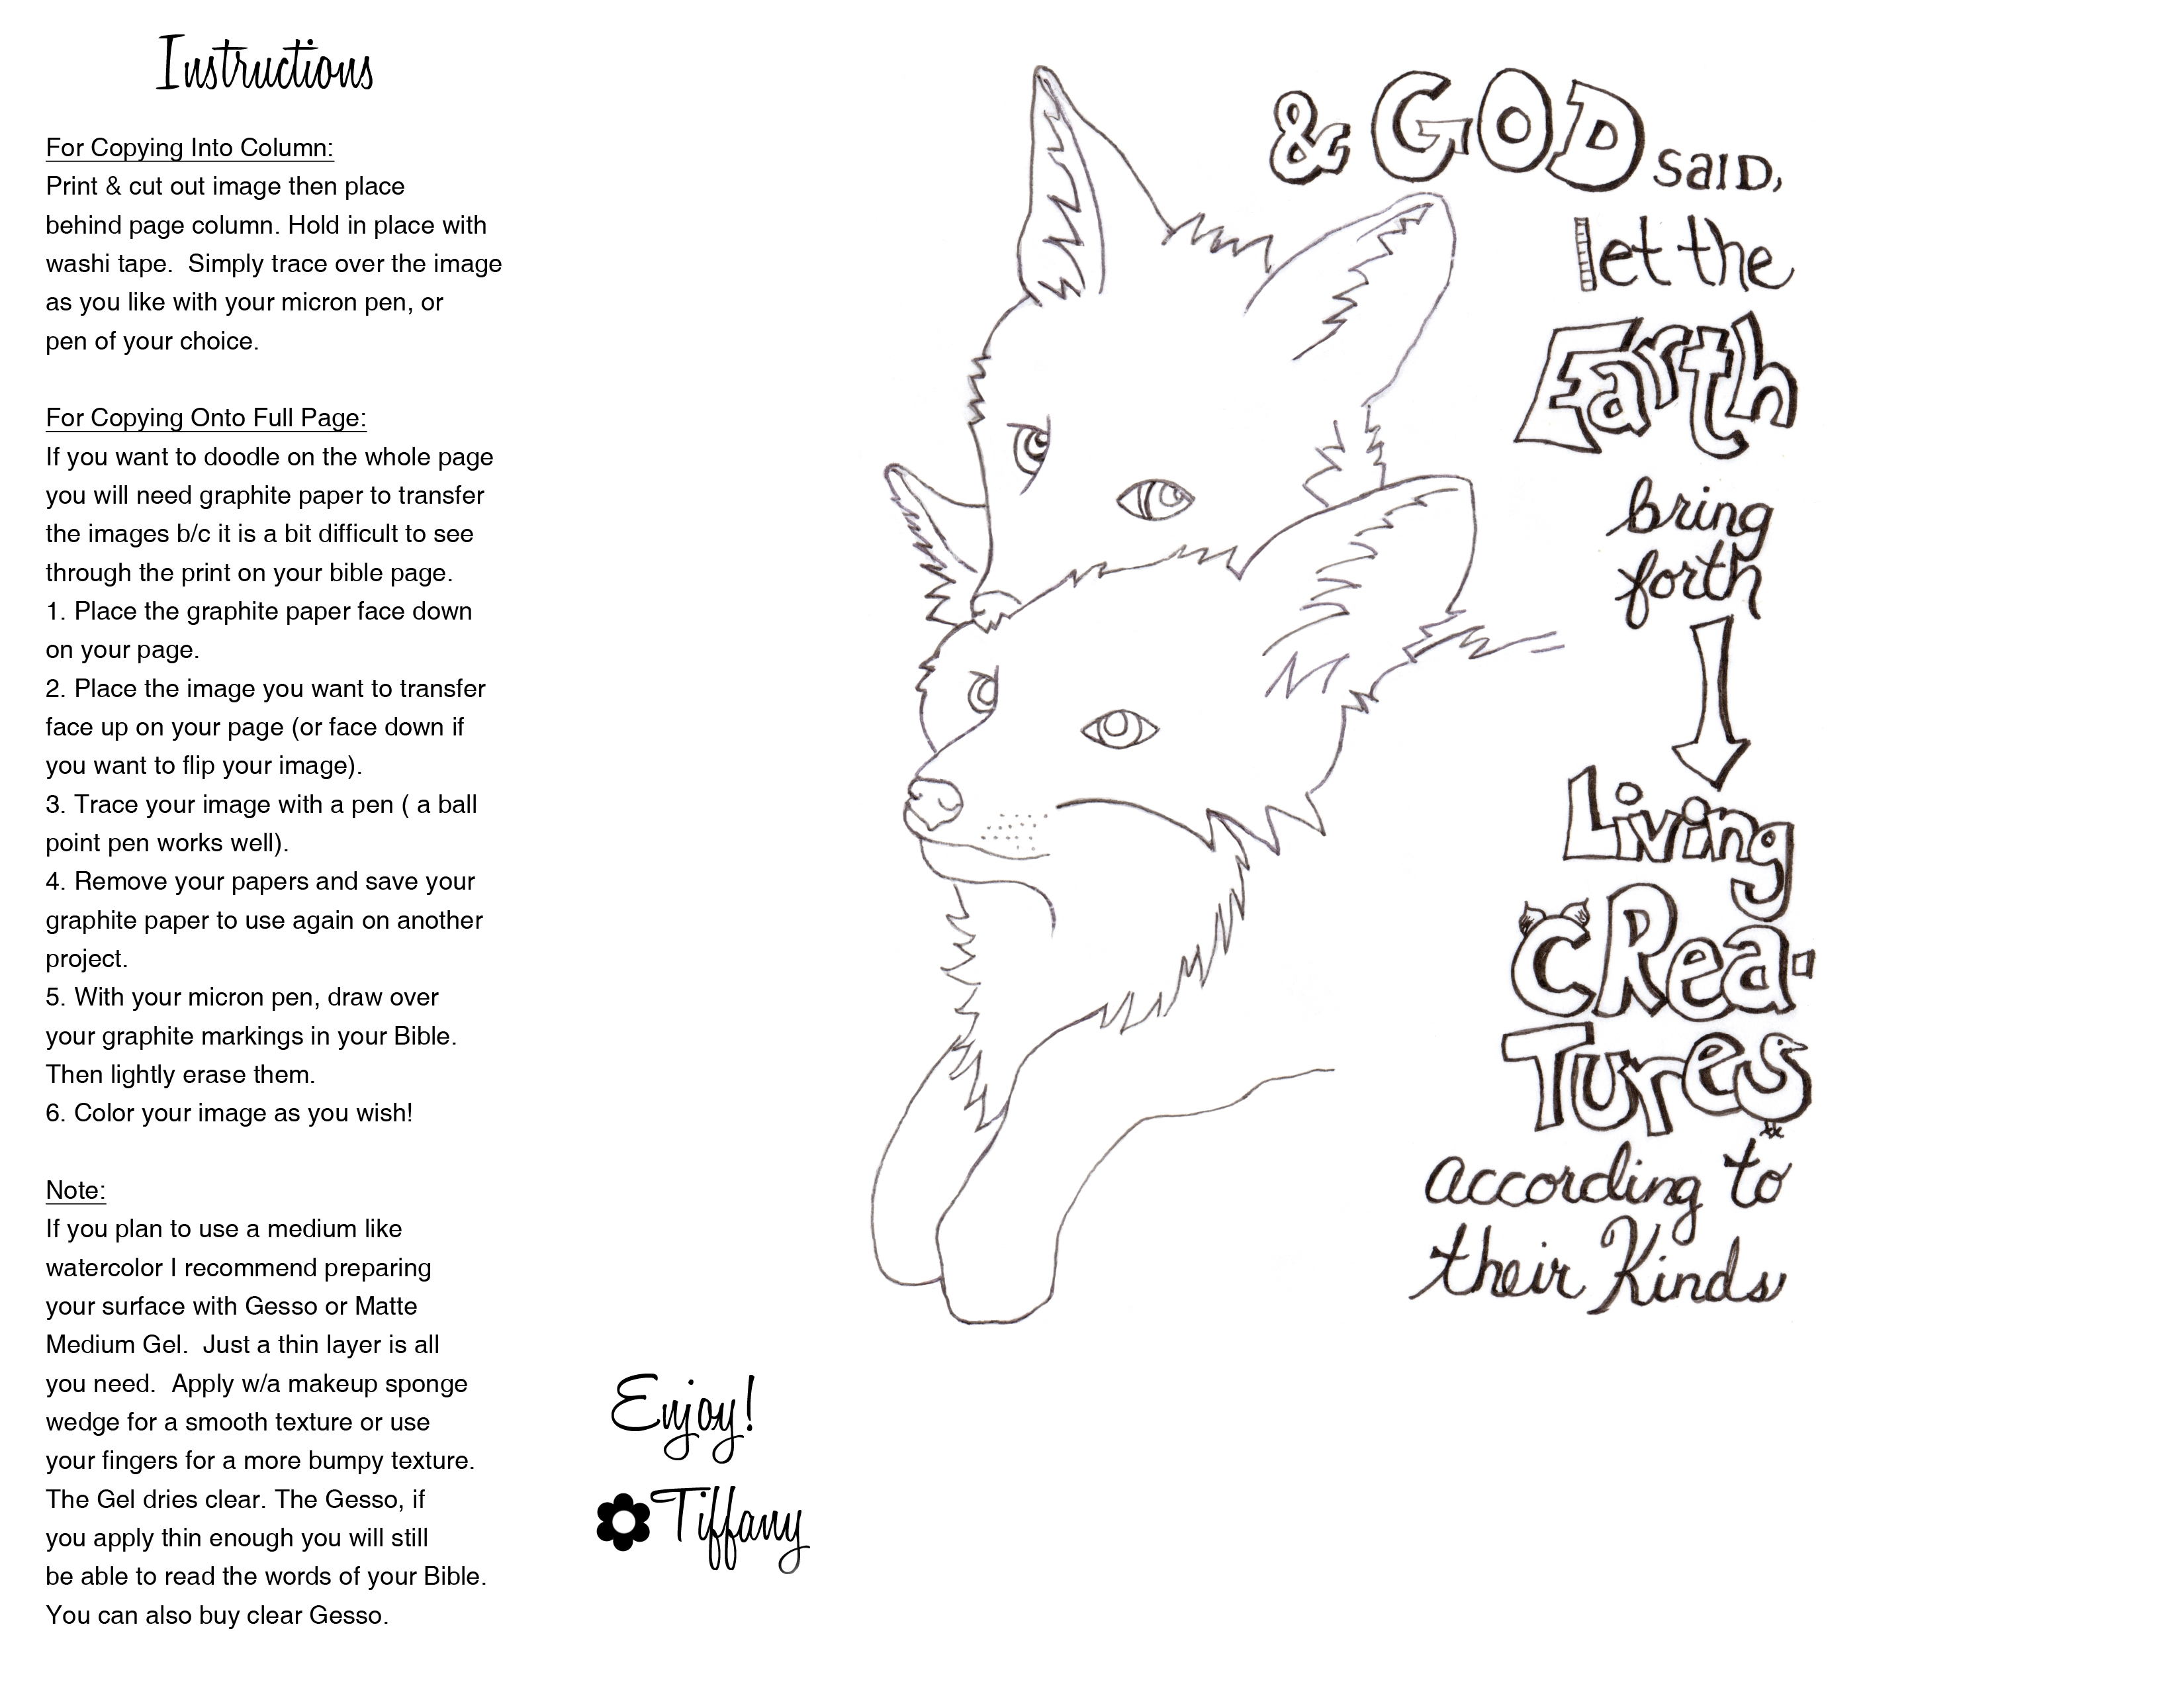
Here is the link to the free PDF I've made for you. It's in my Doodles store where I have my other stamps, so you'll have to create an account. If you don't want to, just email me (tiff . web at gmail . com) and I'll email it over to you!! There are simple instructions on the PDF for transferring the images to your bible.
Posted by
Tiffany
at
12:35 PM
0
comments
Labels:
art journaling,
bible journaling,
distress markers,
documented faith,
free,
tutorial,
watercolor
I'm a self-employed web designer & photographer since 1998. But that's all business and this blog is all about my crafty hobbies! Throughout this blog you will find things like watercolor painting, paper crafting, stamping, card-making, copics, my own hand drawn digital stamps, beading, cooking, gardening, photography, photoshop, the antics of my 4 legged children, Emma & Francie!


Sign up with your email and I'll let you know everytime I add a new digital stamp, photo, paper craft, or painting! Don't forget to click the link inside your sign up email from Feedburner to complete the subscription!