Tiffany's Garden Homepage Sewing Tutorials Tiffany's Garden Copics Templates Contact Tiffany
Blog Biz Cards Studio Organization Tiffany's Beading & Jewelry Gardening Watercolor Painting by Tiffany Emma and Francie Shih-Tzu
Showing posts with label documented faith. Show all posts

Thursday, May 21, 2015

Watercoloring with Matte Fluid Medium & Watercolor Pencils

I've been playing around with this Liquitex Matte Fluid Medium and it is so useful in so many ways! Yesterday I discovered you can use it to watercolor instead of using water!! WHAT???  Yes, and when you use it on your bible pages you won't get wrinkles or pages curls!  Here is how I did it! (I would have taken more pics if I'd have known this was gonna work so great!  But I'll do it again!)


Normally, if you want to do any "watercoloring" on your thin bible pages you need to lay down a full coat of something like gesso, matte gel medium or the fluid medium and then put your color on top of that!  Well, I may have found a way to lay down your color first and then use your medium last!

First of all I drew my image with my waterproof pen!  Then I colored my image with my Derwent Inktense watercolor pencils.  Any watercolor pencils will do! The inktense are just so vibrant!  A note on coloring with the pencils, color lightly where you want the color lighter and color heavy where you want it darker.

Next step is the fun part! I got a bottle cap and added 3 drops of Liquitex Fluid Matte Medium, then I added 2 squirts of water from my mini mister.  This stuff goes a looooong way and even 3 drops was more than enough for these small items to paint.  I got a small paintbrush and mixed the water in really good.  Then started painting.  When painting start in the the lighter areas and work your way into the darker areas.  If you start in the darker areas and go towards the lighter areas you will pull the dark in and cover up your lighter areas.  So be sure to start in the lighter areas first!!  After dry, the last step was using my white gel pen to make some dots in the middle of the flowers!  All done!!  Be sure it is completely dry before you close your bible!

I plan to do more experimenting with this technique with fuller coverage of color first then fluid medium last!  When I do I'll take more pics, or even do a video, if you don't mind my terrible southern accent. (I'm trying to get over that fear!)

If you are interested in the Documented Faith facebook group, everyone is welcome to join us!

Oh, and if you enjoy using Distress Ink in a more traditional style of watercoloring, then you've got to come over to my Facebook Group  Distress Ink for Watercolor! We'd love to have you join us!

My Personal Links:

Tiffany Doodles Links:

Sunday, April 26, 2015

Psalms 103 Bless the Lord, O my Soul - Bible Journaling with colored pencils

"Bless the Lord, O my Soul... oooh oh oh my soul, worship His Holy name.... Sing like never before.... oh my soul"  I've had this song stuck in my head for days so I thought I would put it down on paper and give it some color!!  I used a variety of colored pencils and doodled out some flowers!


If you are interested in the Documented Faith facebook group, everyone is welcome to join us!

Oh, and if you enjoy using Distress Ink in a more traditional style of watercoloring, then you've got to come over to my Facebook Group  Distress Ink for Watercolor! We'd love to have you join us!

My Personal Links:

Tiffany Doodles Links:

Wednesday, April 08, 2015

Under His Wings - Psalms 91:4 - Bible Journaling Tutorial and Free Download

Psalms 91:4    He will cover you with his feathers, and under his wings you will find refuge; his faithfulness will be your shield and rampart.
What a comfort this verse is.  I wanted to make some large majestic golden wings over these pages. 

I knew I was going to be using some watercolor pencils so I started with some Medium Matte Gel.  I love this stuff cause it dries clear!  Of course you can also use Gesso!  (Gesso is available in White, Black and Clear).  I put a piece of paper below each of my pages to protect the pages below.

You have a few choices for what kind of texture you want.

 You can use a credit card or membership card to spread the Gel over your pages.  This will give you a more bumpy texture with ridges here and there.

 You can also use a make up sponge for a smoother texture.  Or, you can use one of the craft sponge paintbrushes.  It won't be perfectly smooth, but pretty close.  If I were using the Gel or Gesso on a more durable surface and wanted it super smooth I would sand it with super fine grit sandpaper or sanding block.  But that is not recommended for your bible pages at this point (until I try it and see how my pages hold up)!! =)


 After your Gel or Gesso has dried, put your printed image below the page and you can still see clearly enough to trace your image.

Next, use your favorite waterproof pen and trace your images!

 I started coloring in my feathers with Distress Ink Wild Honey.  I left the tips empty to fill them in with Mustard Seed.

Coloring on top of Gel is a bit different if you haven't done this before.  Your color kind of "floats" on the surface.  It doesn't exactly blend like you might be used to.

I used Distress Ink Rusty Hinge to fill in some of the shadows.  Then used a paper tortillon to kind of smear it in together.  A paper tortillon is just paper that is rolled up really tightly into a point, great for smooshing and blending! =)  You can find them in the art section at Hobby Lobby, I've seen them in Walmart's art section too.

Here are my finished feathers!

Then finally, I wanted to give them a hazy pink aura, so I colored around it with my pink watercolor pencil and blended it in with my damp brush.  I really like how these wings turned out!


Here is the link to the free PDF I've made for you.  It's in my Doodles store where I have my other stamps, so you'll have to create an account.  If you don't want to, just email me (tiff . web at gmail . com) and I'll email it over to you!!  There are simple instructions on the PDF for transferring the images to your bible.

Psalms 91:4 - Under His Wings You will find Refuge
FREE PDF
FREE JPG


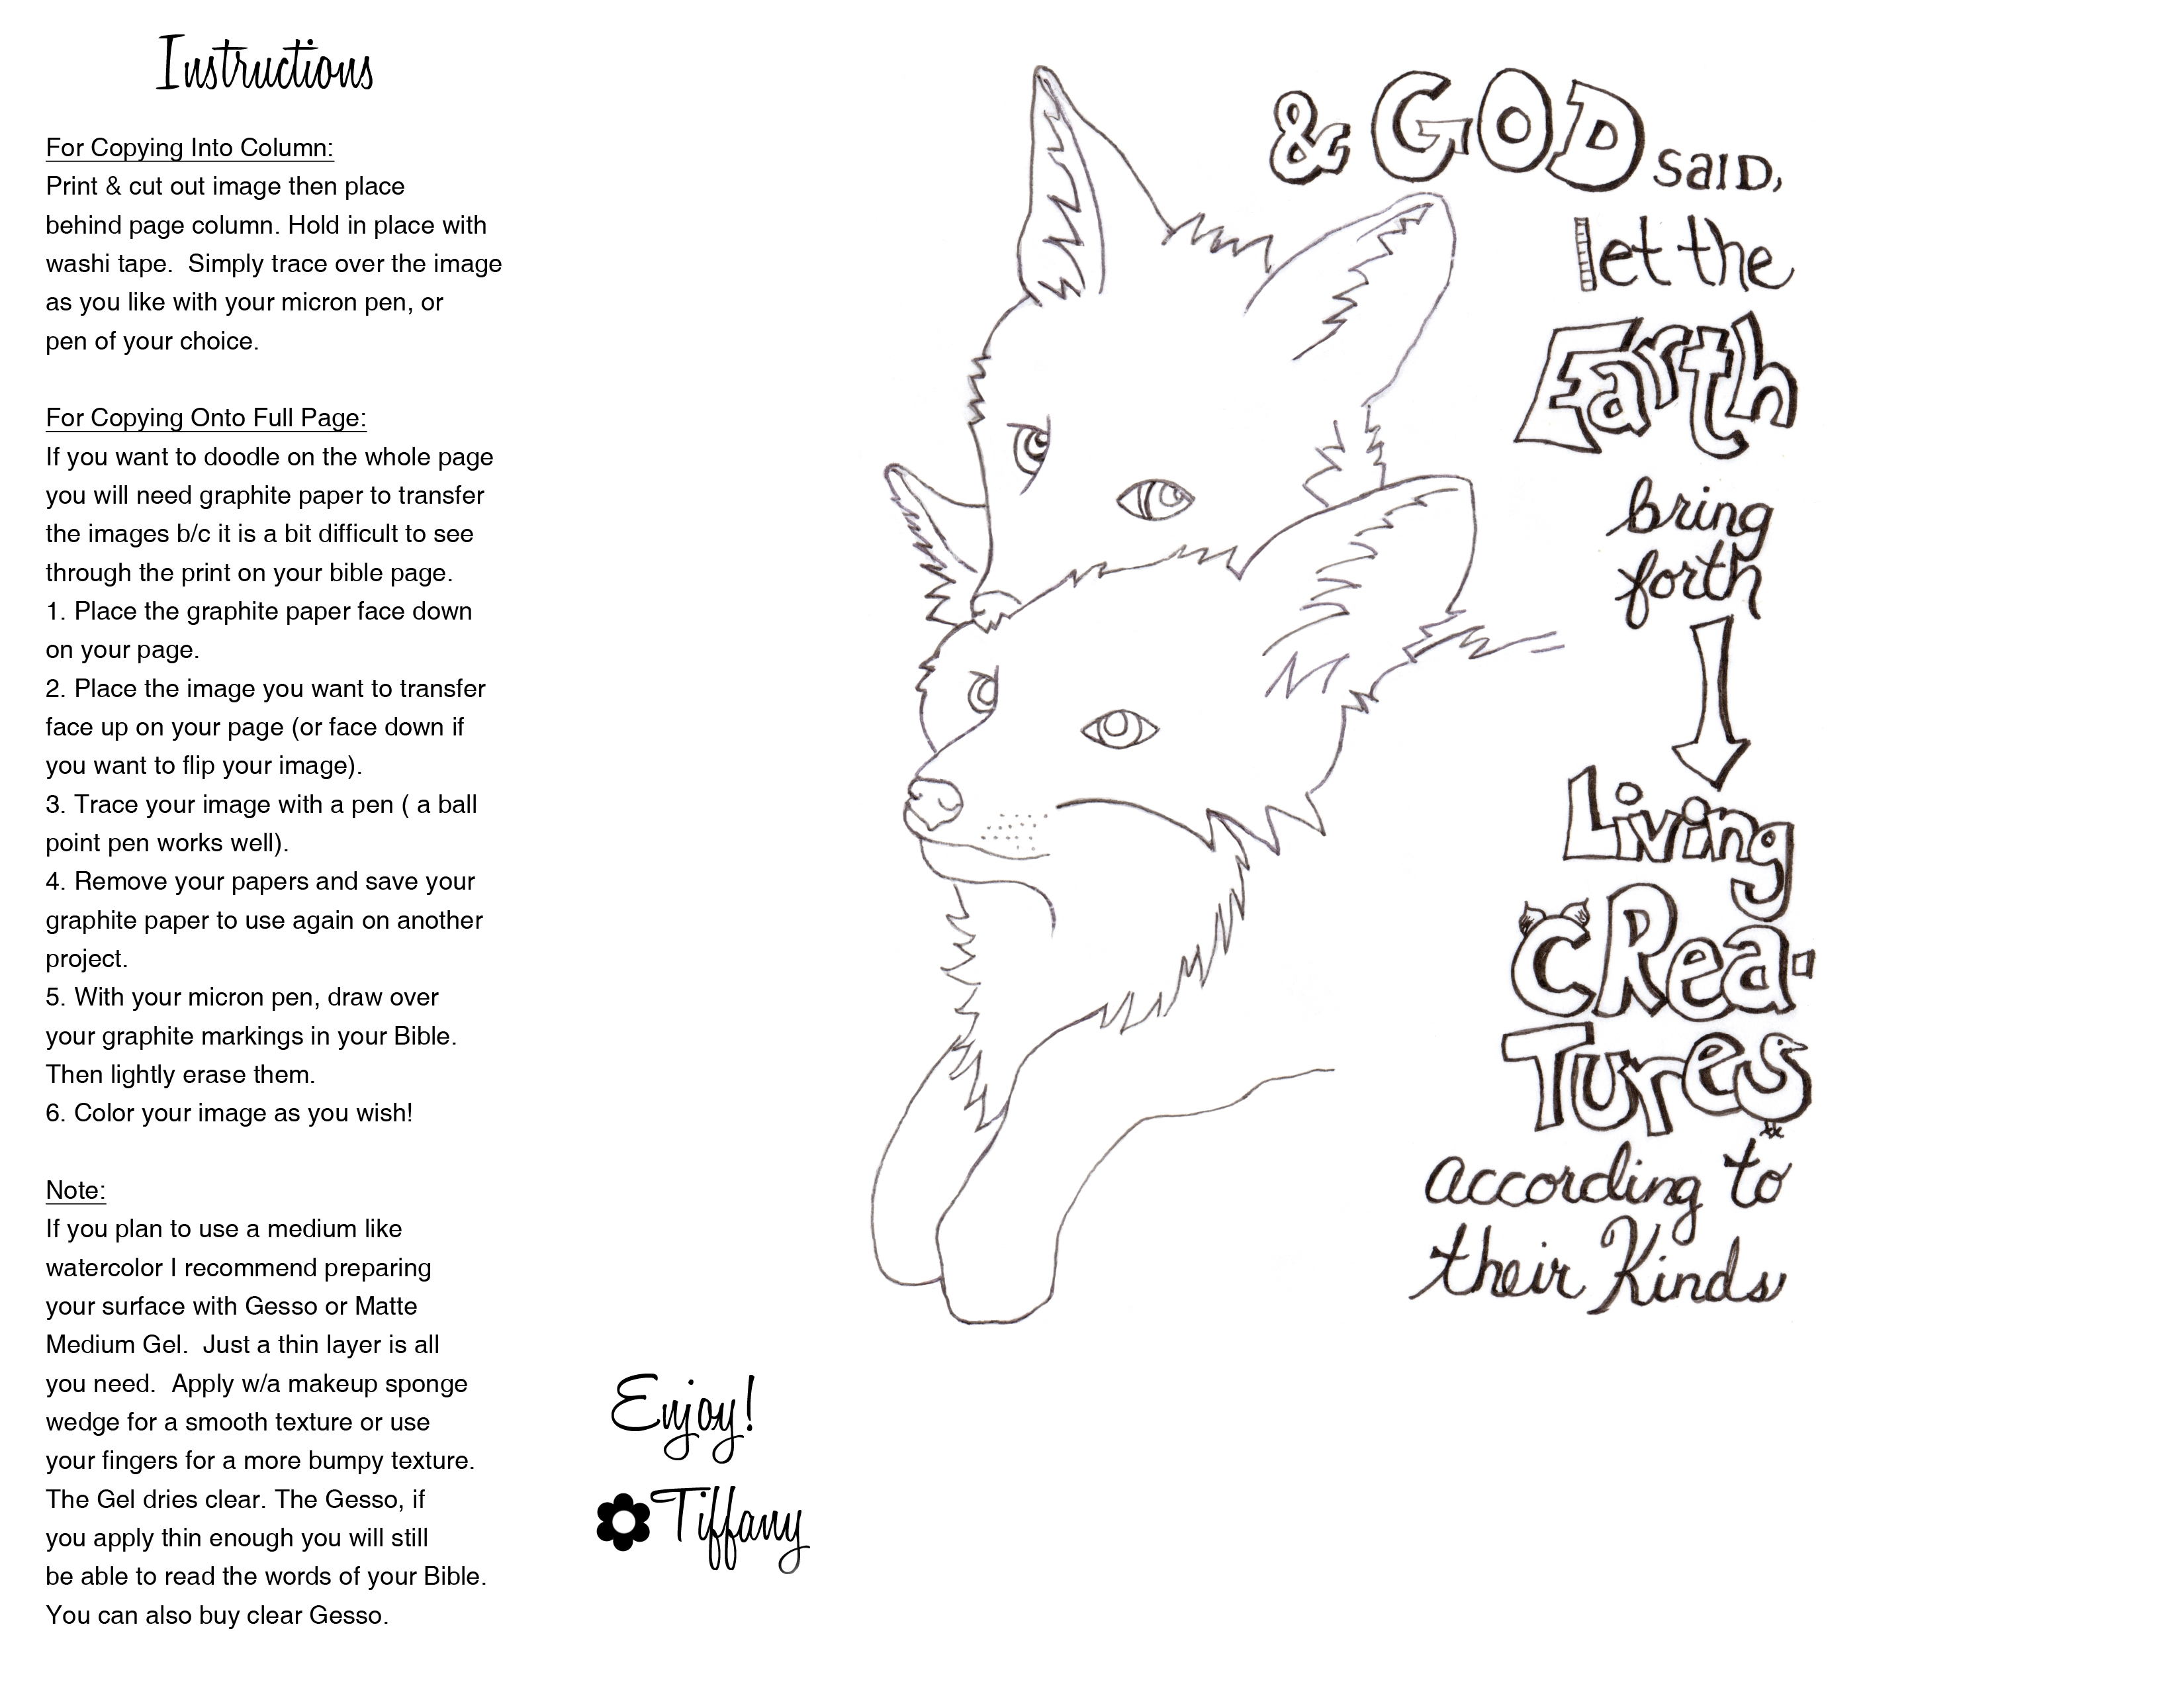
Check out my other Bible Journaling Freebies: Foxes, Rubies

Here is a basic tutorial for for using Digital Stamps and printing them from Word.  They can be used in the same way as the PDF I am offering you here!  As always, if you have any questions or need help, don't hesitate to ask me! =)


My Personal Links:


Friday, February 27, 2015

Ruth 1:16 - Bible Art Journaling with Colored Pencils

Ruth 1:16 is one of my favorite Bible verses and when I saw the inspirational page from Melissa (Instagram @fischtales) (Etsy: Fisch Tale Designs) I just knew I had to color this!!  I just love the shades of pink and sky blue!  It is so yummy to look at!  I used my watercolor pencils, but NO water!!  If you have a moment, check out Melissa's art! It is so inspirational, whimsical, colorful, and happy!


If you are interested in the Documented Faith facebook group, everyone is welcome to join us!

Oh, and if you enjoy using Distress Ink in a more traditional style of watercoloring, then you've got to come over to my Facebook Group  Distress Ink for Watercolor! We'd love to have you join us!

My Journaling Bible on Amazon

My Personal Links:

Tiffany Doodles Links:

Tuesday, January 13, 2015

Coloring the Page Edges of my Journaling Bible

For Christmas this past year (2014) I got a Journaling/Doodling Bible!  Not to mention, a ton of new art supplies!  I was so inspired by Ashley's post at A Pile of Ashes and how she colored her bible edges I decided to do it myself!  For those of you who don't know what a Journaling Bible is.  It's a regular bible with a 2" column on both sides of the pages that gives you room to "make notes".  My notes just happen to be very artsy, creative and colorful!!  I haven't started on the inside yet, but I'll post here when I do!  Trust me, it won't be long!!
To start, I got out a few of my favorite stamps and started stamping.  If you are trying this as well, I can go ahead and tell you that it's a bit difficult to get an even stamping because of the contour of the pages (not totally flat).   I started out by flipping back the front & back covers and used the back of my hand to press the bible against the edge of my table to smoosh the pages together tight.
I then inked my stamp with (Staz-On) and stamped it on.  I was not happy with that first stamp.  I had to use my Faber-Castell drawing pens to fill in all the lines that didn't stamp.  
Then I discovered that if I used my fingers instead of the acrylic blocks I could get a more even stamping b/c I could "roll" the stamp along the curves with my fingers.  I liked this method and used it for the rest of the project.


Once I got all my stamps layed down.  Then I picked up my new Distress Ink Watercolor markers and started coloring!  (Note: I did NOT use any water.)  I filled in all the stamps first.  Then I outlined all the stamps in Tumbled Glass and filled in the white space with Peacock Feathers.  I didn't really like the look of the transition between the two colors so I used my pen to outline as you see here.
Next, I decided to fill in some blank spaces with dots and some curly q's! all over where ever I could fit some in.


I loved this little strawberry stamp and colored it in layers.
Here are some finished shots!  If you have any questions, just leave a comment! 


If you are interested in the Documented Faith facebook group, everyone is welcome to join us!

Oh, and if you enjoy using Distress Ink in a more traditional style of watercoloring, then you've got to come over to my Facebook Group  Distress Ink for Watercolor! We'd love to have you join us!

My Personal Links:

Tiffany Doodles Links:
Related Posts with Thumbnails
 
TiffanyRichards.com ShabbyPrincess.com